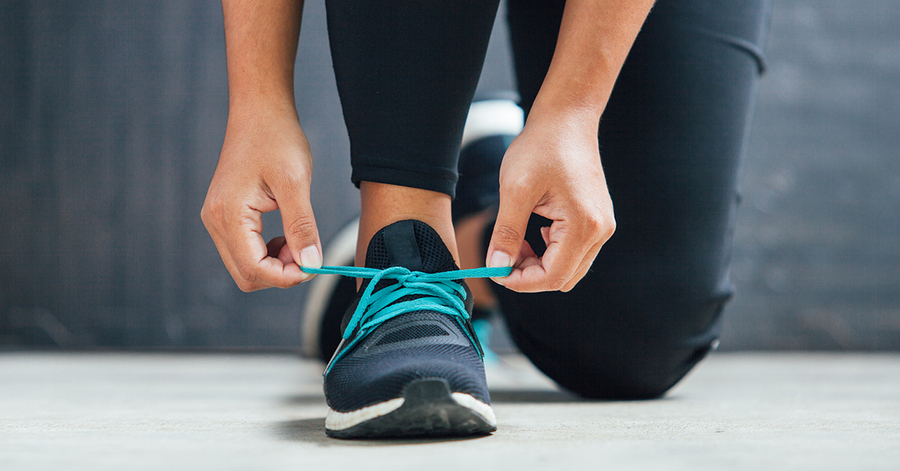
Do you experience foot pain during or after playing pickleball? If so you are certainly not alone. It’s not uncommon for many people, especially when doing a lot of running, to experience a variety of foot issues. Sometimes people assume they have an ill-fitting shoe when in fact simply lacing the shoe in a different way can alleviate the discomfort.
The illustration and following explanations below shows lacing techniques for addressing five of the most common foot types and issues. Experimenting with these might help you turn a pair of shoes you thought did not fit quite right into your new favorite pair.
HEEL BLISTERS / SLIPPING:
If you get heel blisters or excessive wear in the back of your shoe, it may be due to heel slippage. Using “Lock Lacing” prevents your laces from becoming loose, decreases movement of your foot in the shoe, and helps reduce friction. To do lock lacing follow these steps:
1. Lace shoes in the typical cross-cross pattern until the second-to-last eyelet.
2. Then thread the lace through the last eyelet so that the lace comes out on the inside of the shoe, which creates a loop between the last two eyelets.
3. Finish by crossing your laces then inserting them through the loops you created, pulling tightly to secure the shoe around your foot, then tie normally.
WIDE FOOT / SHOES TOO TIGHT:
If your shoes feel tight on the top of your foot, “Bar Lacing” is recommended to evenly distribute the laces for improved comfort. To do bar lacing, lace your shoes in a parallel pattern by skipping alternate eyelets for each lace and running the lace up the side of the eyelets to decrease pressure.
HIGH ARCHES:
The “Gap Lacing” pattern can help alleviate pressure that people with high arches sometimes feel in the middle of your foot. To do gap lacing:
1. Start lacing normally with a criss-cross.
2. In the middle section, thread the lace only through the side eyelets.
3. Criss-cross through the final two eyelets and tie normally.
TOE PAIN:
If you get black toenails and feel pain or pinching in your toes, the “Toe-Cap” lacing technique helps lift the toe box to create more space for your toes. To do toe-cap lacing, follow these steps:
1. Start by lacing from the eyelet at the big toe to the eyelet at the top on the opposite side, so the lace goes diagonally across the whole shoe (you might need a slightly longer pair of laces for this method).
2. Make the other side of the lace about 4 inches longer, then lace it in a criss-cross pattern across all of the eyelets.
3. At the top, tie normally.
BUNIONS / WIDE FOREFOOT:
A lacing technique that provides more space in the toe box can be helpful for people with wide forefeet and/or bunions. The recommended pattern for wide forefeet is similar to the “Gap Lacing” pattern for high arches, except that you don’t start with a criss-cross, so there is more opening in the width towards the toe. To lace for a wide forefoot, follow these steps:
1. Begin by threading the lace only through the sides.
2. Starting at the midfoot, lace with a criss-cross pattern.
3. Finish with a criss-cross the final eyelets and tie normally.
The way you lace your shoes can not only affect your performance and comfort, but can also remedy many common foot issues. But keep in mind that if your shoe is not the correct fit for your foot size or for the way you pronate, just changing how you lace your shoes won’t necessarily fix the problem. Make sure that you have the right combination of proper fit and lacing technique to help your feet stay comfortable and keep you performing at your best.
We carefully select a variety of court shoe brands and styles so that people with different foot types and preferences can find the best shoe for their needs. You can see them all here.